Sunday, July 28, 2013

My Ice-Chest A/C For Tent Camping

It's easy to make a cheap air-conditioner for your camping tent. Cut one hole in the top of the cooler to match the size of the small fan you plan to use. Expecting electricity on my trip to Tiny Texas Houses in Luling, I chose this small fan which lay face-down on top of the hole. The air is pushed down, past frozen water bottles or frozen ice packs placed inside, cooling and condensing it as it circulates before being pushed out the 2nd hole you need. Mark carefully around the 'vent' you choose. I used a PVC elbow joint, cut my 2nd hole and pushed the elbow in place, now I can direct the flow of cold air coming out onto me instead of straight up.

Plan A - The Idea
I was anxious to put it together to prove to my skeptical family it would work. They just smiled politely as I explained to them how it would work but said very little. I plan to cut 2 holes in the top of the cooler, one to snugly fit the 4" pvc elbow, and another just a bit smaller to fit this little $8 fan placed face-down over it. The fan will push the air into the ice chest past the frozen water bottles and out the pvc elbow. Only because I knew it was going to be flimsy to transport did I decide to wait till I actually got to my destination to cut the holes and put it all together and I'm glad I did. 

Plan B - The Reality
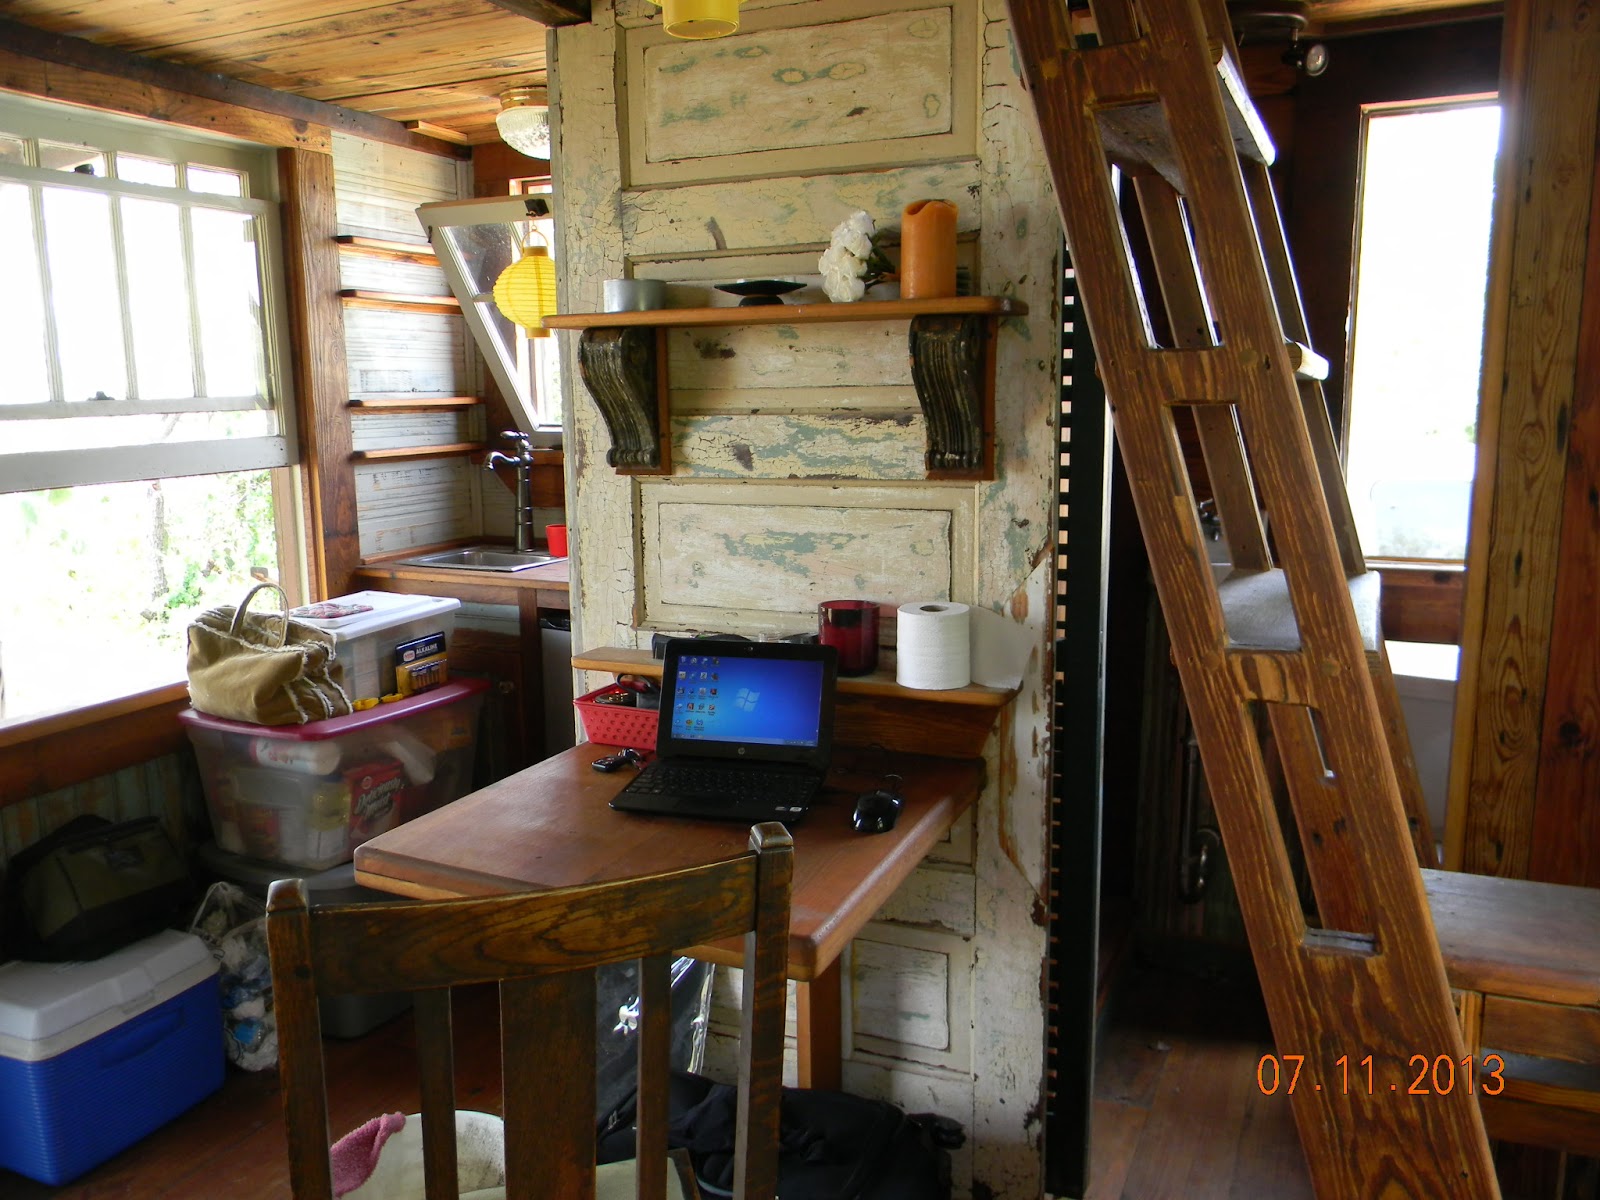
When I arrived with my tent, I couldn't resist the generous offer to spend my week there in a tiny house, even if it meant having no electricity to run my fan. Luckily I had decided to wait until I got there to actually make the thing because I simply cut a much smaller hole to fit the little battery powered personal fan I had brought with me as well. It worked like a charm! I saved the piece I cut out for the elbow, and kept it to plug the pipe and saving my ice when I wasn't running it.
When I got home and used my electric fan it worked even better.

Plan C
I'm planning to build another one using this old ice chest. I'll add some baffles to ensure the coldest air gets circulated well before exiting the vent. At first I planned to place 2 of these 4" elbow vents on this one, but having had a discussion at TTH I now realize I need more air to come in than can come out to further condense and cool the air. I may place two much smaller elbow vents on this one. Thank's guy's! So that's the plan... I'll update with the reality soon....


Sunday, July 14, 2013

The Essay House at Tiny Texas Houses

It felt strange to pack my truck for a week-long workshop at Tiny Texas Houses. It was the first time I've been anywhere alone in a long time. I looked forward to attending the building-with-salvage workshop in Luling by Tiny Texas Houses and also some time just for me.


Though I packed my tent prepared to camp, Brad offered me the little writer's cabin they call the Essay House for my stay. It's a sweet little cabin in the back and like all his tiny houses - it's built with love and 99% pure salvage.

I woke that first morning imagining this is what it must have felt like to be a settler on the Texas frontier. A fog had rolled in during the night, I could just make out the faint shape of deer taking advantage of the cover the fog offered. 

The cabin has no electricity or water right now, though it's fully equipped for it when it finds it's final resting place. I enjoyed sitting and napping on the porch. It feels especially remote tucked in among the Prickly Pear Cactus and Mesquite trees, shrouded in morning fog.

A ladder leads up to the loft and bed. Everything you could need packed into a tiny space that still managed plenty of room to move around.

It has a kitchen and a drop down table for writing or meals.

A shower and a tiny sink of course. There's a shuttered pocket door to hide the the bathroom while still allowing a sweet cross breeze thru the house.
It was very easy to imagine living in this tiny house. A simple life unburdened by all the non-essential 'crap'. A home like this would beg you spend time outside too.